Used gift cards are made of a sturdy material so they’re a good base for glue and glitter. This is a simple and inexpensive Christmas ornament to make and I think the glitter helps make it feel quite festive.
SUPPLIES
- Glue (I used Modge Podge with a paint brush)
- Glitter
- Used gift card
- Hole punch (3/16 inch size) and hammer (and self-healing mat)
- Scissors
- Ribbon
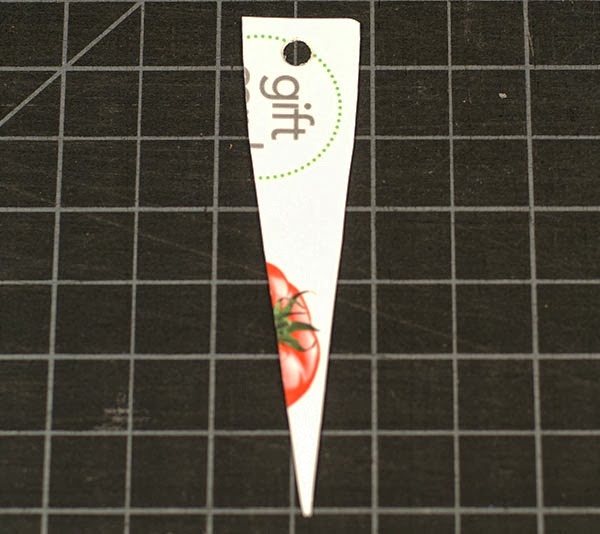
With scissors, cut the desired shape from the used gift
card.
With scissors you can cut simple shapes from the used gift
card. I cut mine freehand, but if you want to be more precise then use a ruler
and permanent pen to draw cut lines before cutting the shape out.
With the hole punch and hammer, punch a hole at the top of
the cut shape.
I like to punch my holes on a hard concrete surface. To help
protect my hole punch from hitting the concrete floor, I punch on an old
self-healing mat.
Apply glue to one side of the cut shape.
Apply glitter over the glue. Let dry.
Recommended: have
a folded piece of paper underneath the used gift card shape to catch the excess
glitter; the fold helps to keep the excess glitter together so you can put it
back in its glitter container after each application.
— 5 —
Turn cut shape over. Repeat Steps 3–4.
Cut a length of ribbon. Thread the ribbon through the
punched hole and tie the ends together. Glitter Christmas Ornament complete.
Hang the ornament on a Christmas tree.
I chose this long triangular shape for my ornament because
initially I wanted to make an icicle. I wanted a silver icicle, but looking
over the glitter I happened to have on hand, blue was the closest color I had.


No comments:
Post a Comment
Note: Only a member of this blog may post a comment.