

I just seem to accumulate different types of paper (e.g. fine art, scrapbooking, cardstock, used wall calendars and paint samples). Sometimes I use these papers in projects and am left with bits and pieces, and I thought I could use those scraps to decorate packages.
- Colored paper(s)
- Scissors
- Double-sided permanent tape/glue
DIRECTIONS
— 1 —
Cut out shapes from your selected paper. You can just use
scissors, but also consider using punch shapes (e.g. circles) or scrapbooking
scissors with a special design.
— 2 —
Adhere paper shapes onto your wrapped package using
double-sided permanent tape or glue.
Note: I just used
a brown paper bag as my wrapping paper, but any flat colored paper would work
well.
Extra note: The
wrapping paper as well as the scrap paper you’re using may impact whether
permanent double-sided tape or glue is preferable; test what adhesive works
best for your specific papers.

Try using repetitive shapes in creating a design. If you’re
using a special shape, use that shape as template; trace that special shape on
your selected paper and then cut it out.

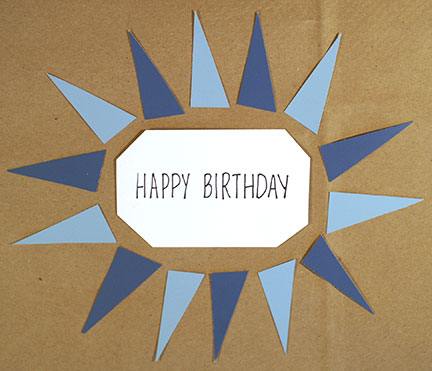
Consider creating an image with your shapes (e.g. banner, birthday cake, etc.).


In the above examples, most were made with paint samples. But I also used an old calendar for a long band (the photo directly above). I used fine art paper and origami paper in the first photo, as well as cardstock to create paper "ribbon" (the black paper).
Also consider using wrapping paper to cut your shapes from (as the monkey in the first photo is taken from used wrapping paper).
Also consider using wrapping paper to cut your shapes from (as the monkey in the first photo is taken from used wrapping paper).
No comments:
Post a Comment
Note: Only a member of this blog may post a comment.