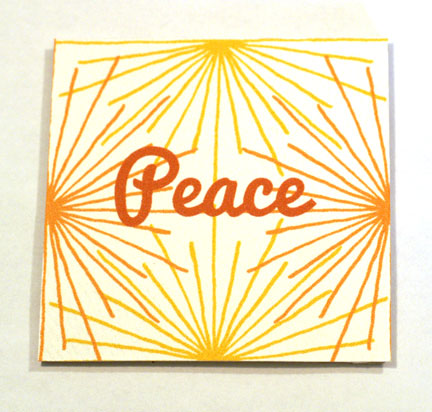
This is a Christmas ornament that has some movement to it as the center square can turn back and forth. It’s a nice ornament to create if you want a personalized ornament (as you can use whatever photos or pictures you want on the center square).
SUPPLIES
- Chipboard (I used leftover chipboard from the backing of an paper pad that’s rather thick)
- Image/Photo
- Glitter
- Modge Podge (or glue)
- Paintbrush
- Three 10mm jump rings
- Pliers
- Ribbon
- Scissors
- Pencil
- Ruler
- X-acto Knife
- Self-healing cutting mat
- Hole punch (3/16 inch size) and hammer
DIRECTIONS
— 1 —
Measure and mark a 4 inch by 4 inch square on the chipboard.
With x-acto knife and ruler cut out the 4x4 inch square.
Measure and mark ½ inch away from the edge of all four sides
of the 4x4 inch square. (This creates a 3x3 inch square in the center of the
4x4 inch square.) With x-acto knife and ruler, cut out the 3x3 inch square.
Measure and mark ½ inch away from the edge of two sides of
the 3x3 inch square. With x-acto knife and ruler, cut the two sides making the
3x3 inch square into a 2½ x 2½ inch square.
At the top of the 4x4 inch square, mark the center. With
hole punch and hammer, punch hole at the mark on the 4x4 inch square.
Apply Modge Podge with brush to the 4x4 inch square.
Liberally apply glitter over the 4x4 inch square. Shake off excess glitter. Let dry. Repeat
adhering Modge Podge and glitter on the other side of the square. Also, try to
apply the glue and glitter to the inner and outer edges of the chipboard so the
glitter is continuous from all angles.
(Recommended: have
a folded piece of paper underneath the square to catch the excess glitter; the
fold helps to keep the glitter together so you can put it back in its container
after each application.)
With brush, apply Modge Podge to the 2½ x 2½ inch square
chipboard piece and place (2½ x 2½ inch square) image on top. Repeat on the
other side of the square chipboard piece with the second image.
Mark at the top center where you want your hole to be on the
2½ x 2½ inch square. With hole punch and hammer, punch hole.
With an open 10mm jump ring, thread through the hole on the
4x4 inch square. Close jump ring.
With a second open 10mm jump ring, thread through the hole
on the 4x4 inch square (below the jump ring already there). Close jump ring.
With a third open 10mm jump ring, thread through the second jump
ring as well as the hole in the 2½ x 2½ inch square. Close jump ring.
Cut a length of ribbon (mine is about 12 inches long).
Thread through the jump ring at the top of the 4x4 inch square. Knot ribbon ends together. Glitter
Picture Frame Ornament complete.
Note: Consider having
your image on one side of the centered square and type on one side of the
ornament (e.g. 2011, Baby’s First Christmas, Ho-Ho-Ho, etc.). Or, if you prefer
a simpler ornament, just use a different colored glitter on the centered square
instead of an image.


No comments:
Post a Comment
Note: Only a member of this blog may post a comment.