

I thought using colored tape would be an easy way to decorate “straw beads” that could be used in making costume jewelry.

SUPPLIES
- Drinking straws
- Scissors
- Colored tapes
DIRECTIONS

If you’re using bendy straws, cut the straight ends away
from the bendy section.
— 2 —
Pull out a length of tape.

Place the straw on top of the tape, lengthwise.
— 4 —
Cut the tape.

Adhere the tape edges to the straw.

Repeat Steps 2-5 on the other side of the straw to cover the
rest of the straw (if necessary).
If you prefer, use a tape with a wider width to cover the
straw in one length of tape to decrease the number of steps.

Trim the end of the straw to even out any excess tape over
the end.

Cut beads from that straw. Use a ruler for exact
measurements, or use a cut bead as a template for the length of the following
beads.
And remember to trim any excess tape on the other side of
the straw (if that section is being used in a straw bead).

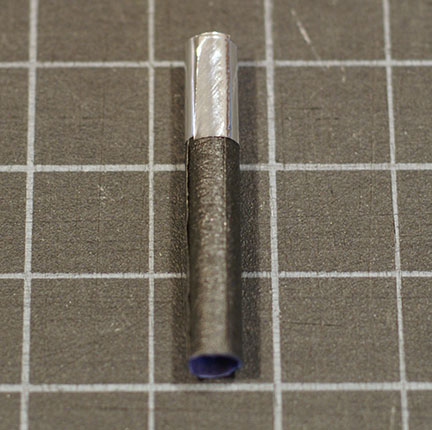
Adhere the second tape as an accent color to the straw
beads.
I cut a length of tape that was long enough to go around the
straw bead (around ¾ inch), and then wrapped that tape around straw bead.
I also tried to have the ends of the tape (for the base and
accent color) end on the same side of the straw bead.
— 10 —
Repeat Steps 1-9 to create the number of desired beads.
For directions on how to make an elastic bracelet (seen in the first photo) with the
Tape Straw Beads, go here.
There are many patterns you could create in this elastic
bracelet (e.g. zigzag, blocks of color, lines)—I played with the beads until I
settled on my repeating pattern. I placed the silver tape at the end of the straw bead for two thirds of the beads, and placed the silver tape at the center for one third of the beads. I ordered them: silver at bottom end, silver at the center and then silver at the top end and repeated this pattern. Alternatively, you can place colored tape
randomly to create a free-form look to the beads.
Recommended: order the beads the way you want them before you thread them. Select a side (top or bottom of the bead) to thread the elastic line through first and thread all the following beads from that side first; this should keep the pattern or order of the beads you have chosen to remain correct as you thread them.
Recommended: order the beads the way you want them before you thread them. Select a side (top or bottom of the bead) to thread the elastic line through first and thread all the following beads from that side first; this should keep the pattern or order of the beads you have chosen to remain correct as you thread them.
No comments:
Post a Comment
Note: Only a member of this blog may post a comment.