Thursday, March 28, 2019
Vintage Book Box
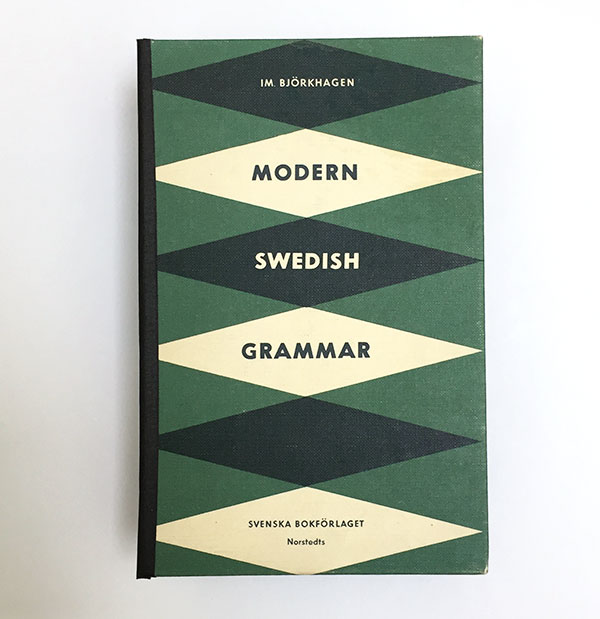
I created boxes from vintage books. I removed the cover from the pages and then cut the spine away. Because the cut edge for the front and back cover pieces looked ragged, I used some black masking tape to cover it up.
I used black foam mat for the box sides. I cut the four sides to the sizes I wanted, and used bookbinding glue to glue sides to the cover and glue the corners together. Once it dried, I used black masking tape to cover the corner edges.
To keep things simple, the box lid is a piece that is placed on top of the box. I cut a piece of black foam board and glued it to the back side of the front book cover piece so the lid wouldn’t slide off the top. The box isn’t the sturdiest of boxes, but it turned out pretty cute. I used the book boxes as packaging for gifts.
This is the second book box I made.
Thursday, March 7, 2019
Thrifted for $2.06
I got four vintage youth books for 39 cents each. I just love the illustration on the cover of The Mystery of the Singing Serpent—it’s awesome.
The other three books are Hardy Boys books. I did read the Hardy Boys when I was a kid—just not the original version from the 1950s. I liked the illustrations on these covers too.
I also got this fantastic Microwave and Infra-red Ovens Design Data Manual binder for 50 cents. It a very sturdy binder and the overall look feels very 1970s to me. I just love that Litton logo—simple and geometric.
Thursday, February 28, 2019
Freak Show Book
I got this Freak Show: Sideshow Banner Art by Carl Hammer and Gideon Bosker for $2. I thought the art in it was really interesting. It has a mix of newer and older art in it.
Labels:
art,
book,
circus,
freak show,
picked up piece,
vintage
Thursday, February 21, 2019
The Complete Book of Home Freezing
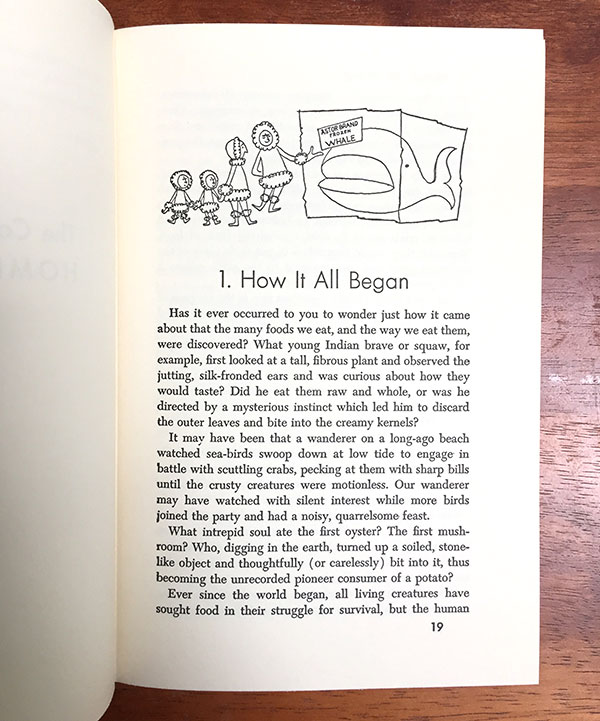
I got The Complete Book of Home Freezing by Hazel Meyer. I just liked the line illustrations in it—so fun.
Thursday, February 14, 2019
Cross Stitched Pendants
This past Christmas, I made cross stitch pendants as gifts. I thought they could be used for necklaces, keychains or Christmas ornaments. I designed two patterns and used each pattern twice, using different color schemes.
Since the pendant was one inch in diameter, I wanted to have a finer stitch so there could be more detail in the design. I decided to use aida cloth that had about 26 stitches per inch (rather than the 14 stiches per inch that I’ve used in the past). The result: it took a lot longer to finish than I anticipated. But overall, it turned out fairly well.
I placed the chipboard circle in the middle of the cross stitch piece and added book binding glue to the back of the chipboard circle and pressed the cloth edges around it. I applied glue to the pendant. Then I pressed the circle piece onto the pendant to adhere it to the glue. I tried my best to make sure the design was centered. It took some doing to get all the edges down within the pendent circle area; fingernails and tweezers helped to get the edges smoother.
I found cross stitching the designs to be fun and relaxing, but gluing the finished design was a bit stressful because if you mess up, you have to start all over (which happened).
Subscribe to:
Comments (Atom)


